I’m about to exploit my husband’s brilliance, but it’s for your benefit, dear readers, so I think it’s okay.
I’m sure I’ve mentioned before that Connor is obsessed with LEGO. He doesn’t just play with it – he plays with it almost exclusively. He doesn’t just like it. He NEVER stops talking about it. The pieces. The figures. The names of the figures. The sets. What they do. What he pretends they do. What they could do if only he had that one particular piece that he saw in the store/online/in the LEGO newsletter. Did he mention that there’s a piece he’d like to have and that he could build all kinds of things if he had it?
I’ve never seen anything like it.
I think it’s awesome, of course. I love that he has something he’s so interested in. I love his enjoyment of something that lets him be creative. And I love, in a way only a mama can, that it’s something he’s so damn good at. I don’t love that we end up with LEGO all over the house, but he’s pretty good at picking it up (with some coercion occasionally required). But we also end up with it in the car, because he wants to take his creations with him EVERYWHERE, and inevitably pieces fall off and get lost or left in the back seat. And those little LEGO pieces find the cracks between the seats and make their way in there so that they end up under the seats and then I have to haul out the booster seat and unfold the back seat and dig around and… Well, you get the picture.
And here’s where my husband’s brilliance comes into play.
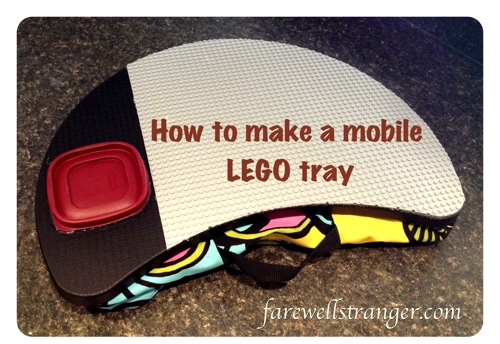
Yes, a mobile LEGO tray!
Rich decided Connor needed something he could use for LEGO in the car that would let him keep building while not losing so many of the pieces. So he designed this fabulous device you see above. And it’s totally easy to make (says the person who didn’t actually make it but watched comfortably from the couch).
Supplies:
Laptop tray. We got this one at Ikea. It’s great because it has a beanbag-type bottom, which makes it easier for Connor to sit it on his lap in the car instead of something that will tilt.
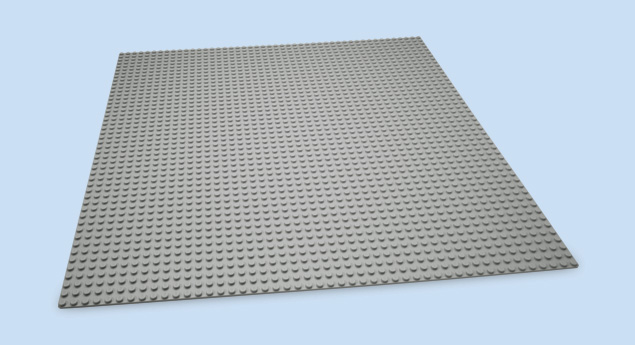
Image source: LEGO.com
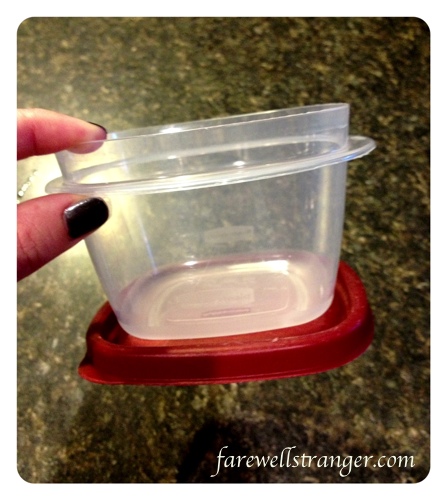
A Rubbermaid container with a lid that snaps onto the bottom.
How to make it:
Trace the shape of the laptop tray onto the back of the LEGO baseplate. Cut the baseplate to the shape of the tray (Rich used a dremel tool but you could use a hacksaw or something simliar too), leaving a section on the side that’s big enough to fit the lid of your container.
Glue the baseplate to the laptop tray. Spray glue works well to get the whole thing stuck on really well.
Glue the container lid to the laptop tray using hot glue.
The idea is that you can attach the bottom of the container to its lid, which will give your child a place to put the LEGO pieces so they won’t slide around and end up requiring you to do an excavation of your car on a regular basis. (You can also use an extra lid to cover the container and keep all the pieces together when you get where you’re going.)
And that’s it! Pretty handy, don’t you think?